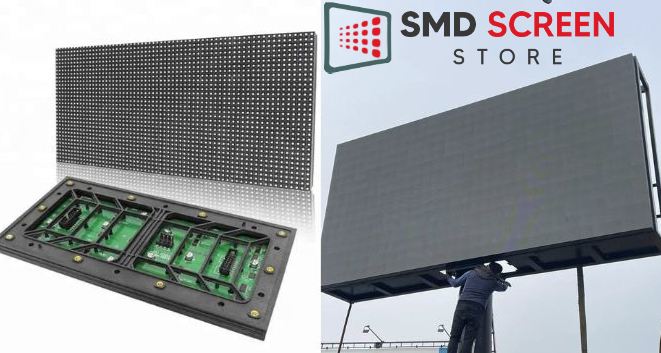
The advent of SMD (Surface-Mount Device) screens has revolutionized the display industry, offering crisp visuals and vibrant colors across a range of applications, from advertising billboards to concert visuals. Installing an SMD screen, however, requires meticulous planning and execution to ensure optimal performance and longevity. This guide by smdscreenstore.pk provides a comprehensive overview of the installation process.
Pre-Installation Planning
Site Assessment
Before installation begins, a thorough assessment of the installation site is crucial. Considerations should include the screen’s size, the viewing distance, and environmental factors such as sunlight exposure and weather conditions. Both for Indoor SMD Screen installations and Outdoor SMD Screen installations, it’s imperative to choose a screen with the appropriate IP (Ingress Protection) rating to withstand the elements.
Structural Support
SMD screens can be heavy, and ensuring that the structure where the screen will be mounted is capable of supporting the weight is vital. In many cases, reinforcing the existing structure or building a new support system may be necessary. Consulting with structural engineers during this phase is highly recommended.
Installation Process
Assembling the Frame
The first step in the physical installation is assembling the frame or structure that will hold the SMD panels. This framework must be level and sturdy, as it will impact the overall appearance and functionality of the SMD LED Display.
Mounting the Panels
Once the frame is ready, the SMD panels can be mounted. This process requires precision to ensure that each panel aligns perfectly with its neighbors, avoiding any gaps or misalignments that could affect the display quality. It’s also essential to securely connect each panel’s power and data cables to ensure reliable operation.
Electrical Connections
After all the panels are in place, the next step is to establish the electrical connections. This includes connecting the screen to the power supply and ensuring that all data connections are correctly made to the screen controller. Proper grounding and surge protection are also crucial to protect the screen from electrical damage.
Calibration and Testing
Calibration
With the physical and electrical installation complete, the next step is calibration. This process adjusts the screen’s color and brightness levels across all panels to achieve a uniform and accurate display.
Testing
Finally, thorough testing of the screen is necessary to ensure everything is working correctly. This includes testing under various lighting conditions and viewing angles. It’s also a good time to train the staff who will operate and maintain the screen on its proper use and care.
Maintenance
Regular maintenance is vital to keep the SMD screen performing at its best. This includes routine inspections, cleaning of the panels, and timely replacement of any faulty components. By following these guidelines, the SMD Screen installation of an can be a smooth and successful process, ensuring that the screen delivers impressive visuals for years to come.
You May Also Like to Read:

